Part 2: Adding Photos to the Search Engine
This is the second part of a three part series on how to sort through a large photo collection easily. This part covers Indexing: getting information about the images in your photo library into the search engine that we built last time.
Prerequisites: Completion of Part 1; Node.js; Photos with EXIF Data incl. GPS; node-gyp and Cairo which are used by node-canvas;and exiftool. H/T @mmigdol
We’ll set up the Elasticsearch index to hold data about the photos in our collection, extract the relevant data from the images, and add it to the search engine. Finally, a quick visualization with Kibana cofirms that we ingested the data correctly.
If you’re in a hurry, grab the entire code from the repository, install the dependencies with npm install and kick off the indexing process with node index.js <path to photos>.
Setup a Mapping for Photo Search
While Elasticsearch is pretty smart we can help it better understand the kind of data we’re sending by creating a “mapping”. A mapping tells Elasticsearch which fields contain numbers, dates, dominant colors or geolocations and how to interpret them in its aggregation.
Let’s start by using the elasticsearch node.js library to connect with our elasticsearch instance to set up a mapping for common EXIF fields and the colors that we want to store.
BTW - My script is an extension of this neat little script on ingesting photo metadata into ES.
Extract the EXIF and Color Data from Photos
Digital cameras store a set of metadata called EXIF data within each photo. If you’re using your phone or a fancy new camera they will also embed the GPS coordinates of each picture within the EXIF data.
We are going to use the Node.js directory walker to find and process each file in the source directory and extract data from each image. We’re going to use two fucntions to extract data for our little search engine: 1) EXIF Data and 2) Dominant color data.
The second extraction in the code above calls a getPalette function which extracts the 5 most dominant colors in each image so that we can search by image color. Originally, I naively used RGB color extraction but to get perceptually similar colors (ie. ones you precieve to be similar) without a lot of gymnastics we need to use a perceptually uniform color space such as HSL. The palette module converts between color spaces out of the box.
If in the future we want to extend our search engine by building an image or mood classifier to use with our images, we simply need to add another extractor function.
Add Data to Elasticsearch - Bulk Upsert
Since we have multiple asynchronous operations to extract data, we want to make sure that our writes to the Search Index are UPDATES and not CREATES.
Elasticsearch has a nice UPSERT “method” which will update if the Index contains a document with that id or otherwise creates the document.
The sendToElastisearch function collects the output of the extractor functions and sends a bulk update to the ElasticSearch.
Mapping Photo locations with Kibana
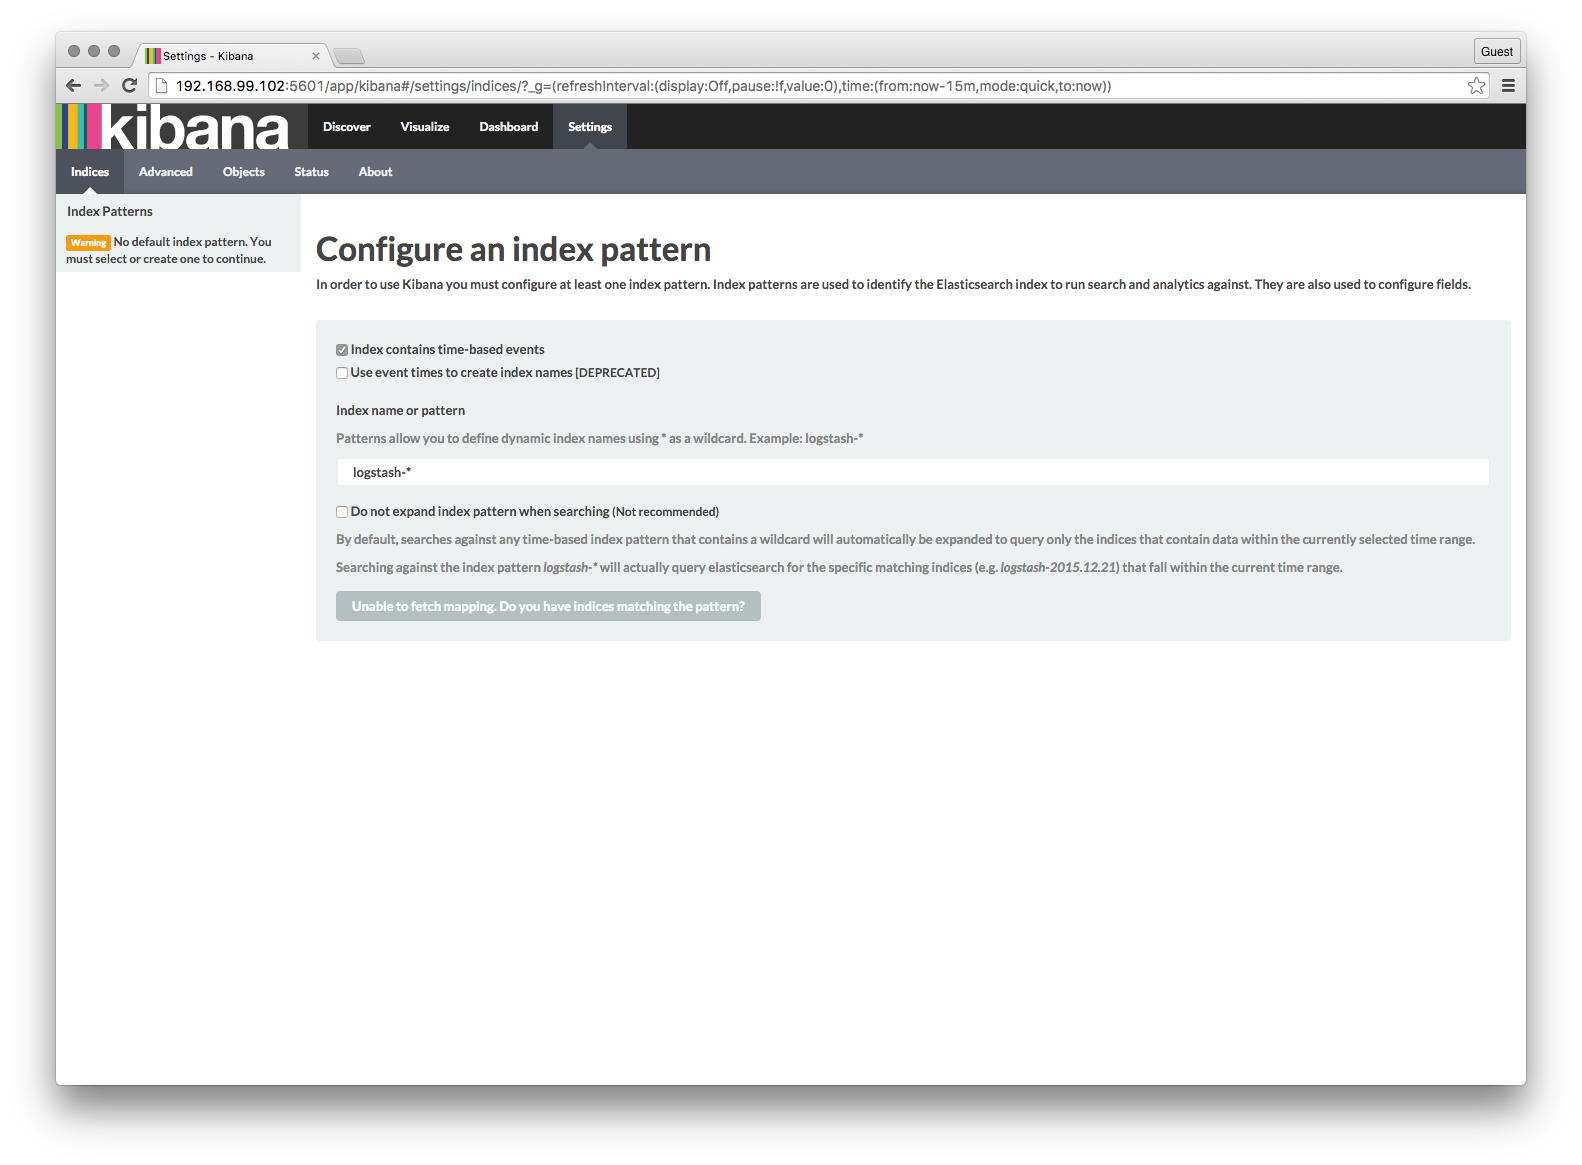
Kibana gives us a quick visual way for us to explore the search engine data. Setup Kibana by pointing your browser to your Kibana Installation:
- Select Settings
- Uncheck Index contains time-based events select box
- Set the index name to
photos - Click the Create button

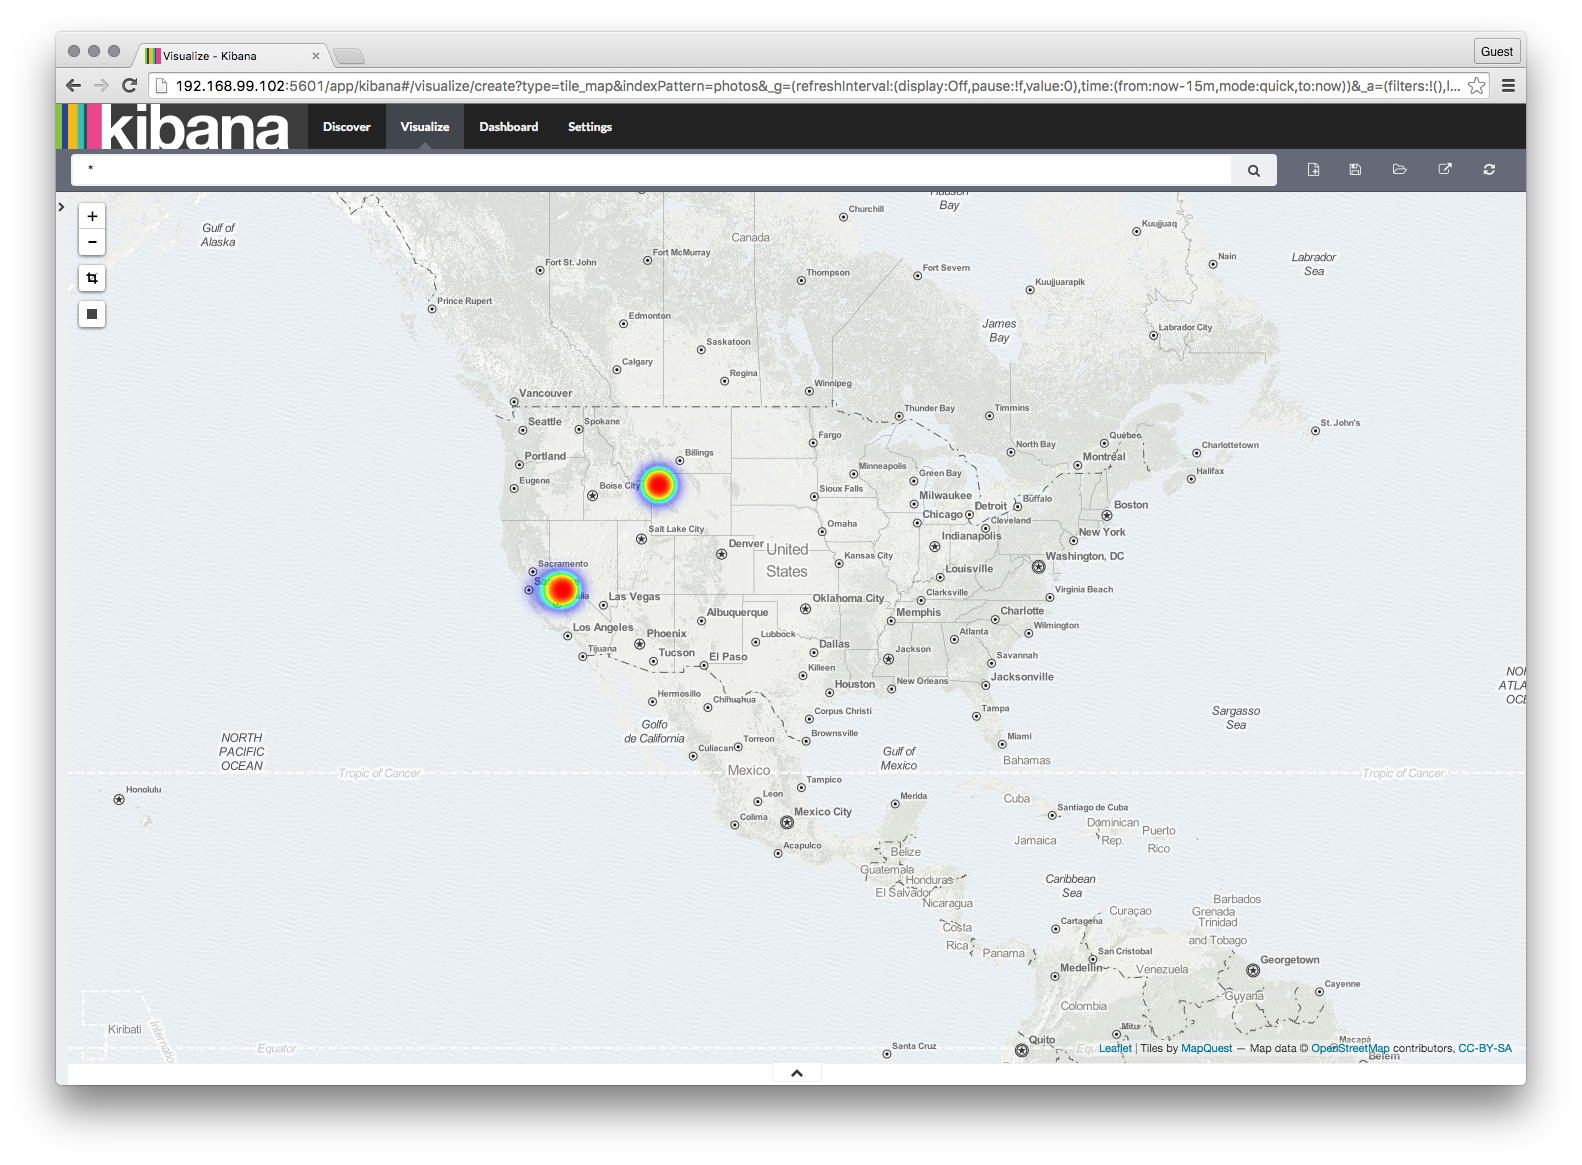
Now, to build a heat map:
- Select the “Visualize” tab
- Select “Tile Map” and”From a New Search.”
- Once the Map loads, select “GeoHash” from the “Select Buckets Type”. Kibana is smart enough to realize that there is only one Geohash and selects it for you as the source in field.
- From “Options” select “Heatmap” as the “Map Type” and adjust the sliders to your taste.
- Press the green arrow.
We instantly have a nice mapping of every picture in our index and can easily create searches and visualizations based on any of the EXIF data that we’ve ingested into Elasticsearch.

In part 3 we will finish up this project by setting up a simple front end with a light footprint to easily find pictures with a certain color.


